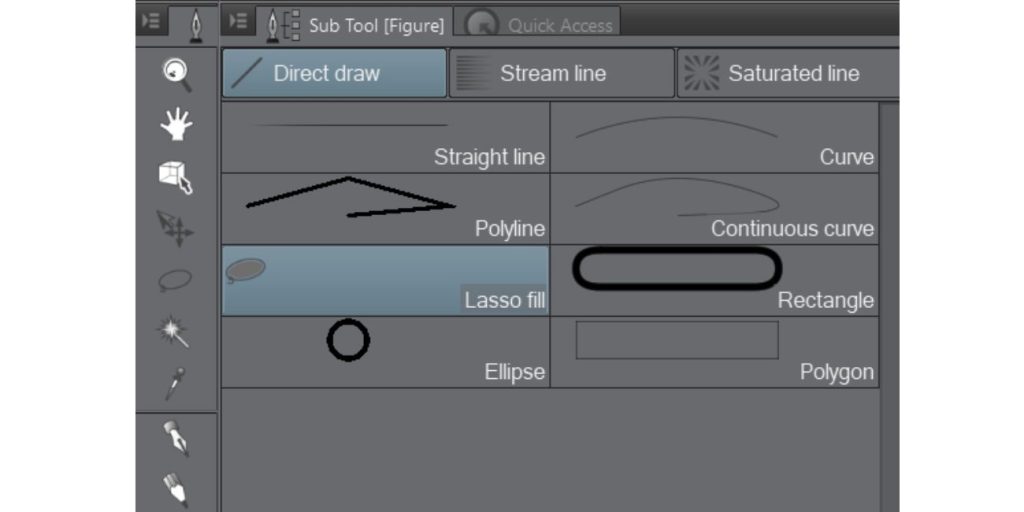
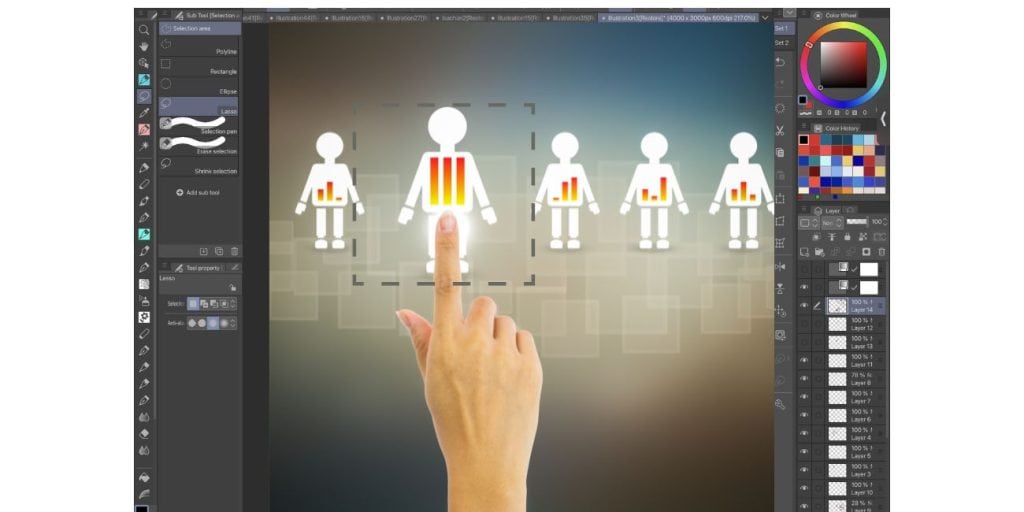
The Lasso tool in Clip Studio Paint is a versatile feature that allows artists to make precise selections for editing and manipulation. Whether you’re isolating areas, transforming shapes, or applying effects, the ability to edit lasso selections can enhance your workflow. This guide will explain how to use and refine the Lasso tool effectively, troubleshoot issues, and apply advanced techniques.
What is Lasso Selection in Clip Studio Paint?

The Lasso tool is a freehand selection tool used to draw custom shapes around areas of your artwork. Unlike predefined selection tools like rectangles or ellipses, the Lasso tool offers flexibility, letting you follow intricate paths. It’s especially useful for tasks like isolating elements, masking areas, or applying localized effects.
For beginners and professionals alike, mastering the Lasso tool means more control over your edits. Let’s dive into the details of using and editing selections.
How to Use the Lasso Tool for Selections in Clip Studio Paint
To get started with the Lasso tool, you first need to know how to create a selection. Here’s a step-by-step process:
Making a Selection
- Open your project in Clip Studio Paint and select the Lasso tool from the toolbar.
- Click and drag to draw a freehand shape around the area you want to select.
- Release the mouse or stylus to complete the selection.
Tips for Precise Selections
- Zoom in for detailed selections, especially when working on small or intricate areas.
- Adjust the stabilization settings under the tool’s properties to smooth out shaky lines.
Once the selection is complete, you’ll notice a dotted outline around the chosen area, also known as “marching ants.” This indicates the active selection.
Editing Lasso Selections in Clip Studio Paint

Editing a selection allows you to refine your work, add to it, or make adjustments. Here are the key ways to modify a lasso selection:
Adding or Subtracting from a Selection
- To add to a selection, hold the Shift key while using the Lasso tool to draw additional areas.
- To subtract from a selection, hold the Alt (or Option on Mac) key and draw over the areas you want to remove.
This flexibility lets you build complex selections step by step, perfect for isolating intricate shapes.
Transforming Selections
- With the selection active, go to Edit > Transform > Free Transform.
- Adjust the size, rotation, or position of the selection by dragging the corners or edges.
- Confirm the transformation by pressing Enter.
Transformations are especially useful for repositioning or reshaping selected areas without altering the original artwork.
Refining Selection Edges
- Use the Feather option under Select > Modify to soften the edges of your selection.
- Smooth jagged edges by increasing the anti-aliasing setting in the tool properties.
Advanced Techniques for Lasso Selection
Take your selection skills to the next level with these advanced methods:
- Use shortcuts like Ctrl+D to deselect or Shift+Ctrl+I to invert the selection.
- Blend the Lasso tool with other selection tools like the Magic Wand or Rectangle tool to refine areas.
- After making a selection, use gradients, fills, or filters to enhance your artwork.
These techniques save time and improve precision when editing complex projects.
Customizing the Lasso Tool
For a personalized workflow, you can customize the Lasso tool settings:
- Open the Tool Property panel while the Lasso tool is selected.
- Adjust parameters like anti-aliasing, stabilization, and line thickness.
- Save your settings as a preset by clicking the Save as Preset option.
Customizing the tool ensures it matches your specific project needs, whether you’re working on detailed illustrations or broad selections.
Best Practices for Using the Lasso Tool
Here are a few tips to maximize the effectiveness of the Lasso tool:
- Use Layer Masks: Instead of deleting selected areas, apply a layer mask for non-destructive editing.
- Snap to Grid: Enable grid snapping for precise selections when working with geometric designs.
- Practice Freehand Drawing: Improving your freehand control makes the Lasso tool more effective for detailed selections.
These practices help streamline your editing process while maintaining flexibility for future adjustments.
Conclusion
The Lasso tool in Clip Studio Paint offers unmatched flexibility for making and editing selections. By mastering its features and applying advanced techniques, you can streamline your workflow and create stunning artwork with precision. Whether you’re refining edges, transforming shapes, or combining tools, the tips in this guide will help you make the most of the Lasso tool. If you found this guide helpful, share it with fellow artists and leave your thoughts in the comments below!

