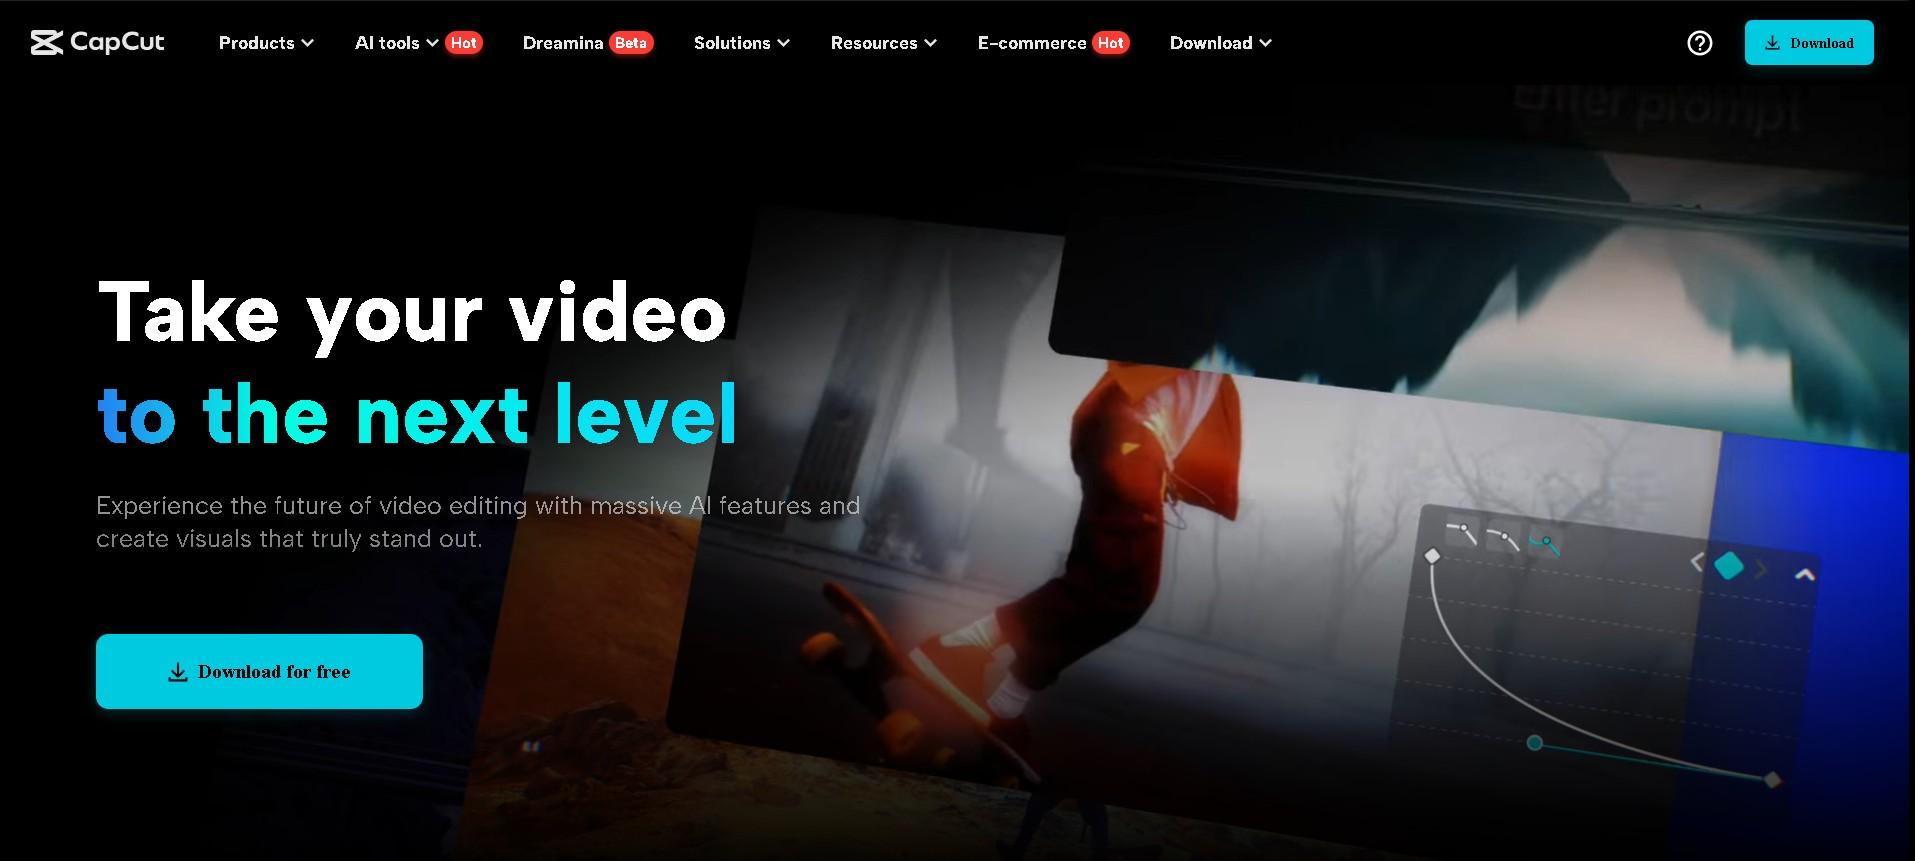
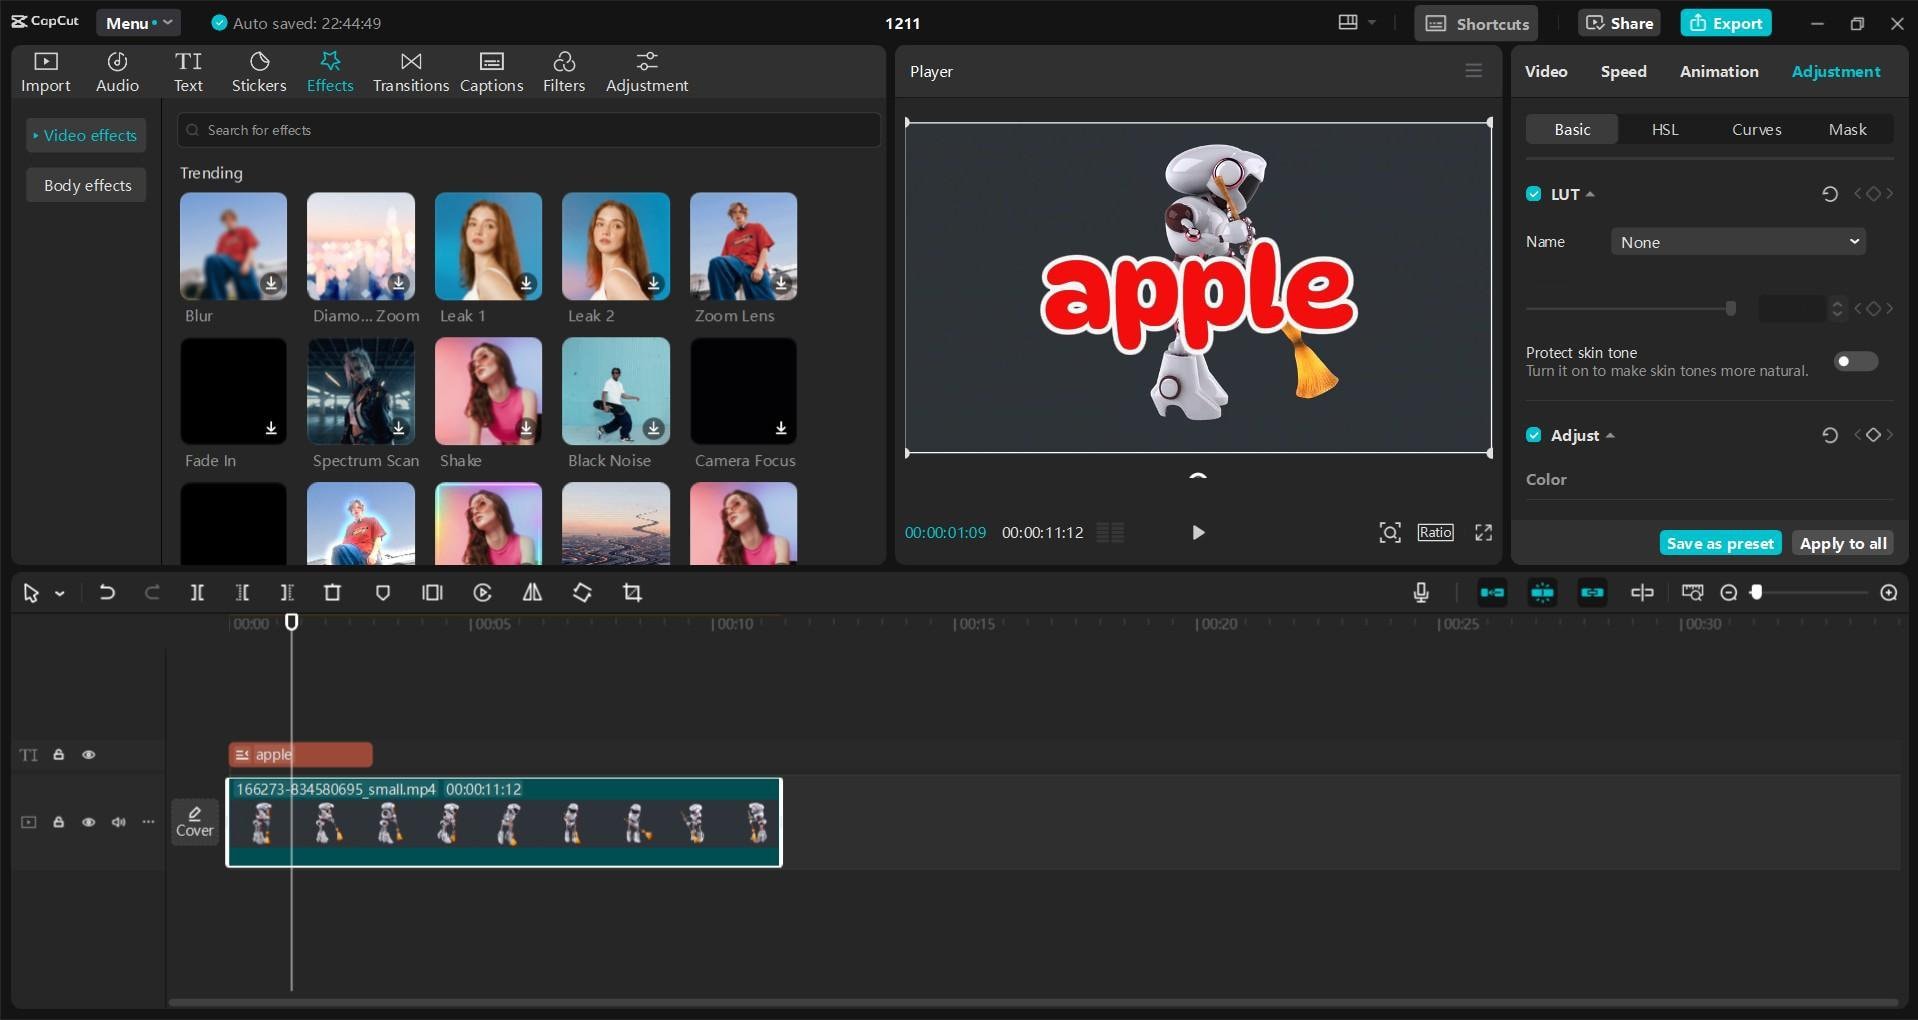
In today’s competitive digital landscape, video marketing is a vital tool for businesses aiming to capture attention, convey their brand story, and drive conversions. As the use of video content grows, ensuring brand recognition and protecting intellectual property has become increasingly important. Incorporating logos and watermarks into marketing videos is a simple yet effective way to achieve these goals. CapCut Desktop Video Editor is a versatile and user-friendly tool that makes this process seamless. Here’s how you can leverage it to elevate your video marketing efforts.

Why Use Logos and Watermarks in Marketing Videos?
Logos and watermarks serve multiple purposes in video marketing:
- Brand Recognition: A logo prominently displayed on your video keeps your brand in viewers’ minds, fostering recognition and trust.
- Professionalism: A well-placed watermark or logo enhances the overall appearance of your video, giving it a polished and professional look.
- Intellectual Property Protection: Watermarks discourage unauthorized use or distribution of your content by making it clear who owns the material.
- Consistency Across Platforms: Adding logos ensures your brand identity remains intact, even if your content is shared across various platforms or downloaded by viewers.
Overview of CapCut Desktop Video Editor
CapCut, originally a mobile editing application, has made significant strides with its desktop version. The platform is renowned for its intuitive interface, robust feature set, and compatibility with various file formats. Its accessibility and professional-grade tools make it a go-to choice for marketers looking to create high-quality videos.
Adding Logos in CapCut Desktop Video Editor
Adding your logo to a video in CapCut, a free video editing software, is a straightforward process. Follow these steps:
1. Import Your Video and Logo: Open CapCut and upload your video along with your logo file (commonly in PNG format for a transparent background). You can remove background from video by using background remover.

2. Drag and Drop: Drag your video to the timeline and place your logo on the overlay track above it.
3. Adjust Size and Position: Resize and position the logo to ensure it’s visible but not intrusive. Popular placements include the top-left or bottom-right corners.
4. Set Duration: Extend or shorten the logo’s appearance on the timeline to control how long it stays on-screen. You can also add text-to-speech, or music by using the CapCut desktop video editor features.
5. Opacity and Effects: Adjust the logo’s opacity for a subtle look, or add effects like shadow or glow to enhance visibility.
6. Preview and Export: Review your video to ensure everything looks perfect, then export it to your desired format and resolution.
Creating Watermarks with CapCut Desktop Video Editor
Watermarks are semi-transparent overlays that span part or all of a video frame. They’re particularly effective for protecting content without overwhelming the viewer. Here’s how to create a watermark in CapCut:
1. Design and Overlay Your Watermark: Use graphic design tools to create a watermark image, or use CapCut’s text tool to generate one directly. Place the watermark on a separate track above your video.

2. Adjust Transparency, Position, and Scale: Reduce the opacity to make the watermark less distracting while still visible. Center the watermark or stretch it across the screen based on your preference.

3. Apply Blending Modes: Experiment with blending modes for seamless integration into your video.
4. Review and Finalize: Preview the video and make any necessary adjustments before exporting.
Best Practices for Using Logos and Watermarks
1. Keep It Subtle: Overly large or opaque logos and watermarks can distract from the content. Strive for a balance that reinforces branding without detracting from the viewer experience.
2. Choose the Right Placement: Consider the layout of your video. Avoid placing logos over key visuals or text.
3. Maintain Consistency: Use the same logo style, size, and placement across all your videos to create a cohesive brand identity.
4. Optimize for Different Platforms: Platforms like Instagram, YouTube, and TikTok have different aspect ratios. Ensure your logo and watermark placement adapt to these formats.
5. Test Visibility: Before finalizing your video, test how the logo and watermark appear on different devices and screen sizes.
Advanced Techniques with CapCut
CapCut offers advanced features to further enhance your branding efforts:
- Motion Tracking: Use motion tracking to anchor your logo or watermark to a moving object in your video.
- Keyframe Animation: Animate your logo to make it appear dynamically, adding visual interest.
- Layer Effects: Combine your logo with other visual elements, such as gradients or textures, for a unique style.
The Impact of Branding with CapCut Desktop Video Editor
Integrating logos and watermarks into your videos is more than a branding strategy—it’s a way to protect and amplify your content in the digital age. With CapCut’s user-friendly interface and powerful tools, marketers can create visually appealing, professional videos that stand out.
By embedding your brand identity in your video content, you ensure that every view contributes to building your reputation and recognition. Whether you’re a small business owner, a content creator, or part of a large marketing team, leveraging CapCut for branding can provide a significant return on investment.
Conclusion
The digital era demands innovative ways to connect with audiences and establish a strong brand presence. Using logos and watermarks in your marketing videos is a simple yet effective strategy to achieve these objectives. CapCut desktop video editor provides all the tools needed to seamlessly incorporate these elements into your videos, ensuring they are both professional and impactful. By following best practices and exploring advanced features, you can elevate your video marketing efforts and leave a lasting impression on your audience.

